Not an animal, but a software tool that can help workers save time following meetings, Otter can be easily integrated with Zoom and other apps.
Otter is a voice transcription software tool developed by California-headquartered tech company Otter.ai.
It can be used to record conversations and meetings, providing live transcriptions of audio that can be saved and accessed once the recording is finished.
Otter transcriptions are never 100pc accurate, but is can be an incredibly useful tool for people who hate handwriting the minutes of a meeting or have to look back through the details of an interview or conversation.
Using artificial intelligence, Otter can transcribe in real time what is said in a recording. If something isn’t accurate in the transcript, you can listen to the recording and edit it.
Otter is available as a Chrome extension, as well as an iOS and Android app.
It’s available for free, but you’re most likely going to have to pay for one of its subscription tiers if you want a decent quality service.
What you get with each plan
Otter’s Basic free plan will transcribe up to 30 minutes of a recording, or 600 minutes per month. It allows for web and mobile recording, but unfortunately doesn’t let you import recordings to be transcribed.
If your meetings are longer than that, if you want to use an external recorder, or if you’re part of a team or organisation looking to collaborate, you might need to consider shelling out for a subscription.
Paying for Otter’s Pro, Business or Enterprise plans will get you four hours of transcribing at a time, or 6,000 minutes per month. You can also save around 36pc by taking out a yearly subscription rather than a monthly one.
The Pro plan is aimed at individual professional users, while the Business and Enterprise plans are targeted at organisations. Those two plans offer prioritised support compared to the standard service that comes with the Basic and Pro plans.
Otter for beginners
When you open Otter on your desktop, you’ll see your conversations in the middle, towards the top of the screen. On the left side of the screen, you’ll be able to navigate the menu. You can view your folders, conversations, groups and messages here.
There is a blue Record button on the top right side of the screen. Simply click that and Otter will open a new transcription note, where you’ll see it transcribe your recording.
There is a bar at the bottom of the screen that appears during recordings. This features a pause icon (clicking it will pause the recording) and a black square icon (clicking it will stop the recording). As soon as you click on the black square to stop the recording, it will automatically save in your conversations.
Recording transcripts are always automatically titled ‘Note’, but you can rename this by clicking back into the transcript and clicking on the title. There’s an edit conversation button, too, which lets you fix any mistakes Otter has made in transcribing your audio.
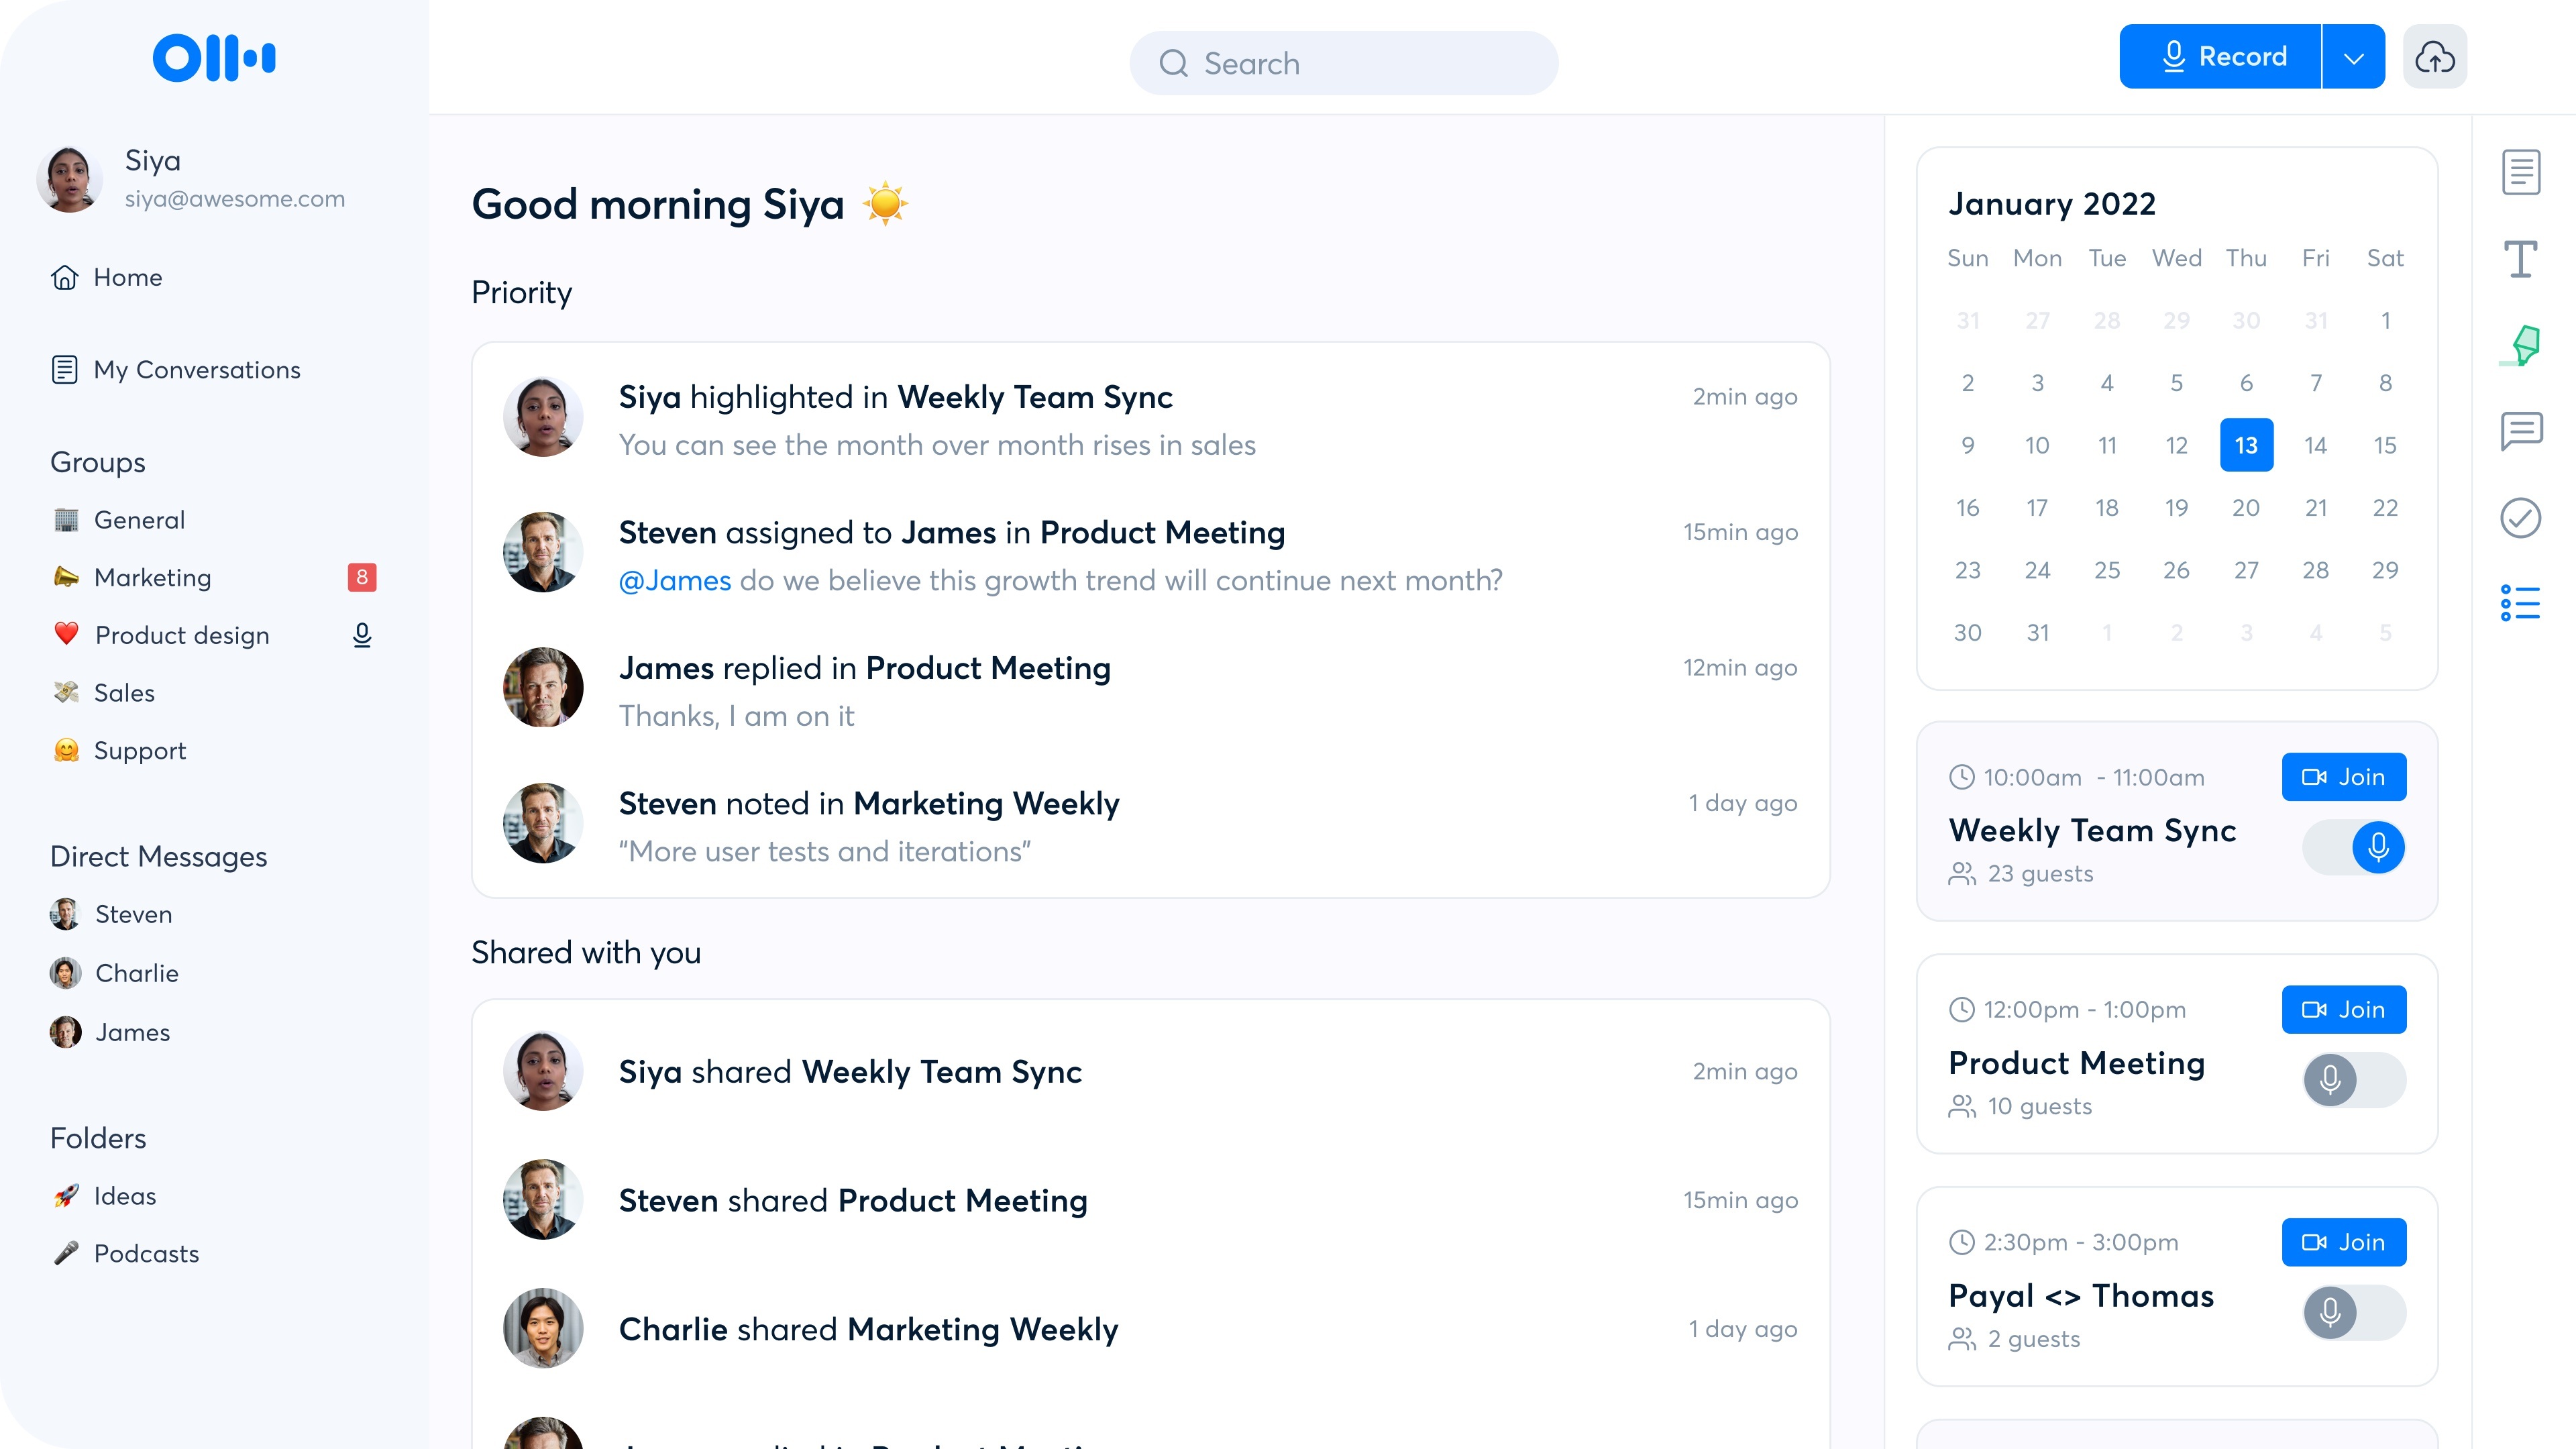
Otter home page. Image: Otter
If your transcript features multiple speakers, things can get a little confusing. Obviously, Otter can’t name each person for you as its AI is not quite that advanced.
To help yourself keep track, it’s a good idea to label speakers, which you can do by clicking the person icon beside the transcription and typing in their name. This saves you from having to listen back to distinguish speakers’ voices.
In a conversation, you can highlight text by selecting it and clicking on the highlight icon on the bottom of the screen. Highlighted text appears in the ‘Meeting Gems’ section on the right side of the screen.
Meeting Gems are a way of breaking up text to format it into easily digestible bullet points. It’s useful if you’re recording a long meeting and want to highlight key moments or actions. You can type your own notes and comments in that section, too.
If you need to share a recording with a team member, you can do so by clicking on the blue share button on the top right side. It’s just above Meeting Gems in the transcript view. Clicking ‘Share’ will prompt a pop-up where you can type your colleague’s email address. You can designate them as a collaborator, meaning they can view and edit, or as a viewer only.
Returning to the home page, you’ll find the Import button next to the Record button. You can drag and drop or manually browse your computer for whatever audio file you wish to import. Otter accepts MP4, WAV, MP3 and other types of files.
Otter Assistant and Zoom sync
There are a number of integrations available with Otter, including one with Zoom that might come in handy for virtual meetings.
Zoom sync is not included in the Basic plan. You’ll need a Pro plan or higher to avail of that service.
If your organisation wants to sync Zoom and Otter, the administrator of the account needs to log in to Zoom Marketplace. Next, go Otter.ai Live Notes for Zoom and click on the pre-approve toggle on the right side of the screen.
Staying logged in to Zoom, they can then enable the downloading of recordings by clicking on Admin, followed by Account Management and then Account Settings. Click into the Recordings tab to adjust settings based on your preferences. You’ll want to enable cloud recording downloads and cloud recording.
To connect Otter to Zoom, click on the apps panel on the left side of the screen on Otter’s homepage. Click the blue Add button on sync cloud recordings. You’ll be prompted to authorise this on Zoom. Click authorise.
After all that, you’ll be able to automatically sync cloud recordings from your Zoom account and transcribe them in your Otter account.
Otter also has an assistant service for its Pro and Business plans. Otter Assistant can automatically join meetings on video conferencing platforms and transcribe them in real time. To enable this, you’ll need to integrate your meetings calendar with Otter.
This can be done in apps, by clicking the blue Add button next to the calendar of your choice. Your calendar events and meetings will appear on the right side of the home page once you’ve integrated the two.
More information on Otter and all its product updates can be found on its blog.
10 things you need to know direct to your inbox every weekday. Sign up for the Daily Brief, Silicon Republic’s digest of essential sci-tech news.